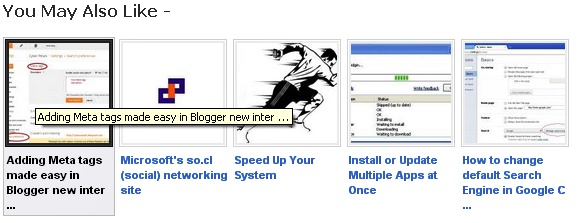
How To Add Related Post Widget In Blogger
How To Customize Nrelate Widget ?
Customizing Thumbnail Style For This Widget
How To Add Related Post Widget In WordPress
- Go to Partners.Nrelate.com and Sign For New Account -> Activate Your Account
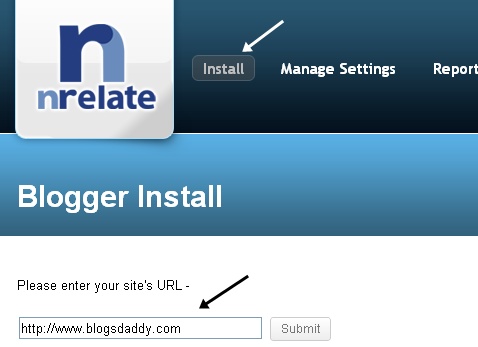
- Click Install Tab -> Blogger
- Enter Blog URL Which You Want to Add Nrelated Post Widget For Blogger. Than Click “Submit”
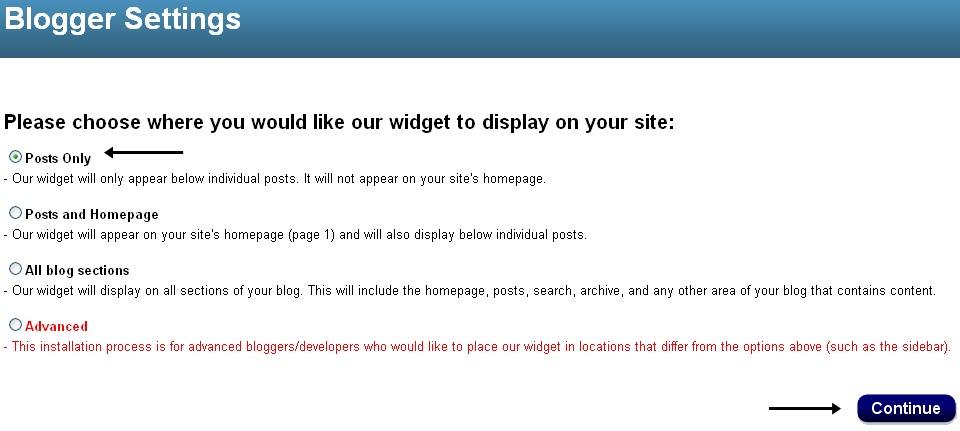
- On the next page select option where you want to show related post. I recommend to select Post only!
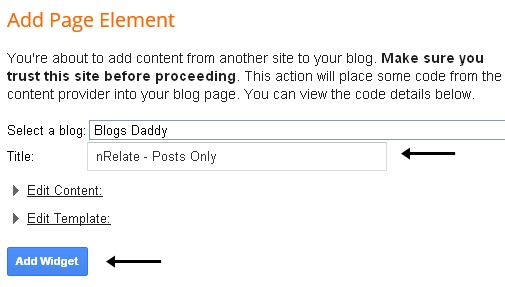
- Click the “Add to Blogger” button below and then click “Add Widget”.
- It may take up to 2 hours before appearing on your site.
- After clicking the Add to Blogger button you will be presented with a option to Add widget to your blog. Select your blog and click the Add Widget button as shown in the following image.
- Its all done, You have successfully installed this widget on your blog.Now, learn how to customize this widget.
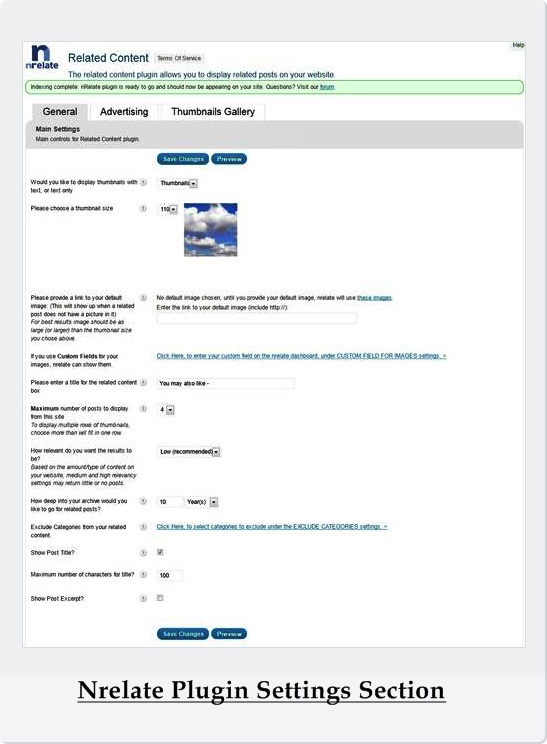
- Go to Manage Setting -> Blogger -> Main Settings
- Choose maximum number of related posts to display from your site and set thumbnail size
- In Advertising Settings you can enable ads if you want to make money from your blog.
- You can support nrelate by displaying their logo.
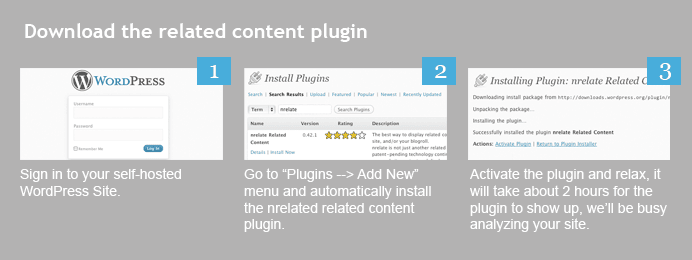
- Go to your Plugins section in your WordPress Admin dashboard and Click Add New.Search for Nrelate plugin and the very first result will be Nrelate Related Content Plugin.
- Install it and activate it in to your plugins directory.
- Access the Nrelate plugin settings section from WordPress left menu section towards bottom. Here is a screenshot showing Nrelate plugin settings section.
Manual Download –here